English
 中文简体
中文简体How to Measure U-Joints: The Precise Step-by-Step Guide
Content
- 1 How to Measure a U-Joint: The Direct Answer
- 2 What Is a U-Joint and Why Accurate Measurement Matters
- 3 Tools You Need Before You Start Measuring
- 4 Step-by-Step: How to Measure U-Joint Cap Diameter
- 5 Step-by-Step: How to Measure U-Joint Cap Width
- 6 Common U-Joint Series and Their Standard Dimensions
- 7 How to Identify U-Joint Snap Ring Style During Measurement
- 8 Measuring U-Joints on ATVs, UTVs, and Non-Automotive Applications
- 9 Common Measurement Mistakes and How to Avoid Them
- 10 When Measurements Don't Match Any Standard Series
How to Measure a U-Joint: The Direct Answer
To measure a U-joint, you need two dimensions: the outside diameter of the bearing cap and the overall width across the caps (also called the snap ring-to-snap ring distance or cap-to-cap width). Use a caliper for accuracy — a tape measure is not precise enough. For example, a common automotive U-joint measures 1.062 inches in cap diameter and 3.219 inches in width, which corresponds to a Spicer 1310 series joint used in many GM and Ford applications.
These two numbers — diameter and width — are the universal identifiers for any U-joint and are all you need to find a direct replacement. Everything else (series name, part number, vehicle fitment) flows from these measurements.
| Measurement | What It Means | Tool Required |
|---|---|---|
| Cap Outside Diameter | Outer width of the bearing cap cylinder | Digital or vernier caliper |
| Cap-to-Cap Width | Distance across opposite caps, outside to outside | Digital or vernier caliper |
| Snap Ring Groove Depth | Determines retention style (internal vs. external) | Caliper or snap ring gauge |
What Is a U-Joint and Why Accurate Measurement Matters
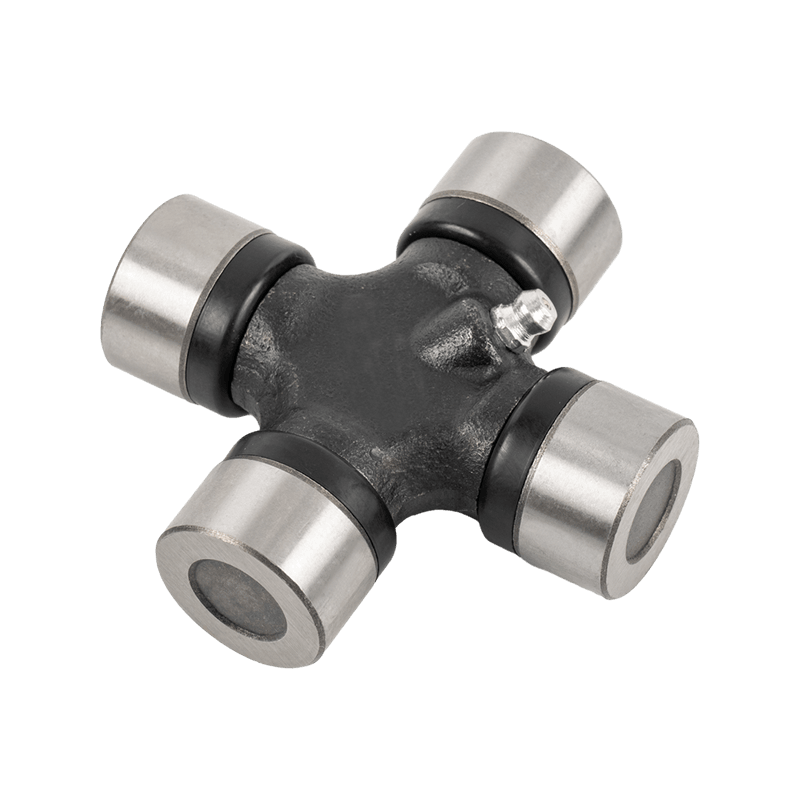
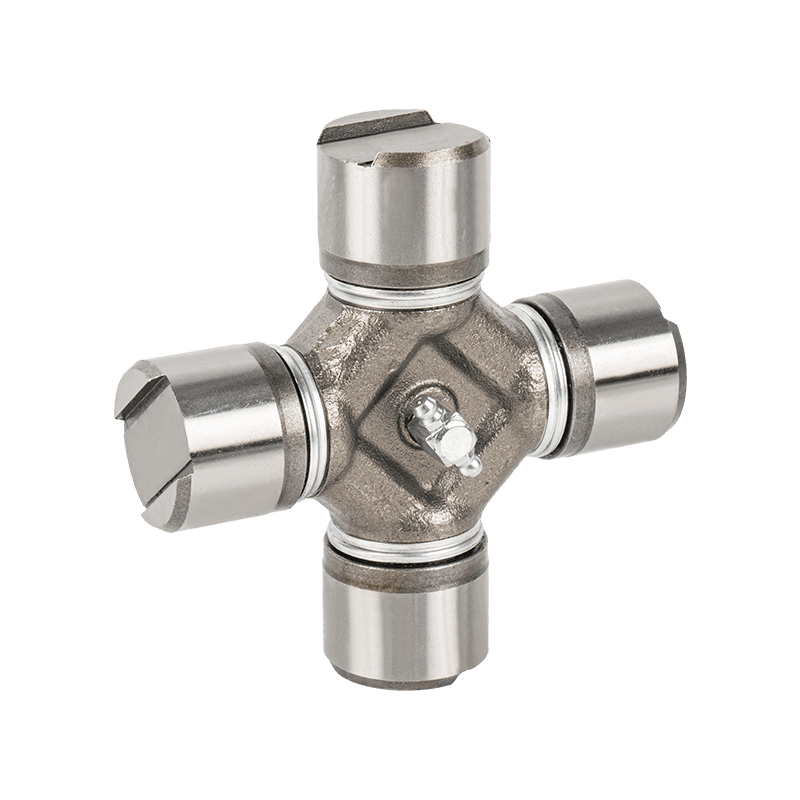
A universal joint (U-joint) is a mechanical coupling that transmits rotational torque between two shafts that are not in a straight line. It is the pivoting link in a driveshaft assembly, allowing the drivetrain to flex as the suspension moves. U-joints are used in cars, trucks, ATVs, marine applications, and industrial equipment.
A U-joint consists of a cross-shaped center piece (called a cross or spider) with four trunnion arms, each fitted with a needle-bearing cap. If you order the wrong size, the cap will either fall out of the yoke bore or be too tight to seat — both of which result in driveshaft failure. Even a 0.010-inch error in cap diameter can make a joint non-functional. This is why measurement precision matters far more than vehicle year, make, and model look-ups alone.
Tools You Need Before You Start Measuring
Do not attempt to measure a U-joint with a ruler or tape measure. The tolerances involved are in thousandths of an inch. Here is what you actually need:
- Digital caliper (preferred): Measures to 0.001 inch or 0.01 mm; a $15–$25 tool from any hardware store is sufficient
- Vernier caliper (alternative): Analog but equally accurate if you know how to read the scale
- Clean shop rag: Remove grease from the caps before measuring — contamination adds false thickness
- Notepad or phone: Record both measurements immediately; confusing diameter and width is a common error
If the U-joint is still installed in the vehicle, you may need to drop the driveshaft to get accurate cap-to-cap width readings. Measuring around a yoke flange introduces error. For a removed joint, measuring takes less than two minutes with a caliper.
Step-by-Step: How to Measure U-Joint Cap Diameter
Cap diameter is the first and most critical dimension. This is the measurement that determines whether the joint will physically fit into your yoke.
- Remove the U-joint from the driveshaft or hold it securely in one hand.
- Wipe all four bearing caps clean with a dry rag to remove grease and debris.
- Open your caliper jaws and place them around the outside of one bearing cap, as close to the center of the cap as possible.
- Close the jaws until they make light contact with the cap surface — do not over-tighten, as this compresses the metal and gives a false low reading.
- Read the measurement and record it. A typical automotive cap diameter ranges from 0.875 inches (7/8") to 1.313 inches (1-5/16").
- Measure a second cap on the opposite axis to confirm — all four caps on a standard U-joint should be the same diameter.
If the two axes give different diameters, you may have a specialty joint such as a full-round or wing-style bearing joint used in some heavy-duty truck applications. In that case, measure and record both dimensions separately.
Step-by-Step: How to Measure U-Joint Cap Width
Cap width — the outside-to-outside distance across a pair of opposite caps — is the second dimension needed to identify your U-joint series. This measurement tells you how wide the joint sits in the yoke.
- Hold the joint steady or set it on a clean flat surface.
- Open the caliper jaws wider than the total span of two opposite caps.
- Place the outside edges of the caliper jaws against the outer flat face of each cap simultaneously.
- Close until both jaws contact both cap faces at the same time. Keep the caliper perpendicular to the cap axis to avoid an angled false reading.
- Record the measurement. Common widths range from 2.813 inches to 4.188 inches across standard automotive and light truck series.
- Repeat across the other axis (the perpendicular pair of caps). On a standard cross joint, both axes should give the same width. If they differ, record both — this identifies a non-standard or metric joint.
Measuring Width on an Installed U-Joint
If you cannot remove the driveshaft, you can measure the yoke bore width instead — the distance between the inner walls of the yoke ears. This is slightly smaller than the cap-to-cap width and accounts for the snap ring groove. Add approximately 0.060–0.080 inches to the yoke bore measurement to estimate the installed cap-to-cap width, then verify against a series chart.
Common U-Joint Series and Their Standard Dimensions
Once you have your two measurements, match them to a known series. The Spicer/Dana series naming system is the industry standard reference in North America. The table below covers the most common automotive and light truck U-joint sizes:
| Spicer Series | Cap Diameter (in) | Cap Width (in) | Typical Application |
|---|---|---|---|
| 1310 | 1.062 | 3.219 | GM, Ford light trucks, Jeep |
| 1330 | 1.062 | 3.625 | Ford F-150, Dodge Dakota |
| 1350 | 1.188 | 3.625 | Heavy-duty trucks, 3/4 and 1-ton |
| 1410 | 1.188 | 4.188 | Heavy-duty Ford, Dodge diesel trucks |
| 1480 | 1.313 | 4.188 | Medium-duty trucks, commercial vehicles |
| 1260 (small) | 0.875 | 2.813 | Compact cars, older imports |
Notice that the 1310 and 1330 share the same cap diameter (1.062") but differ in width. This is why you must measure both dimensions — diameter alone is not sufficient to identify a series. Confusing a 1310 for a 1330 will result in a joint that is either too narrow or too wide for the yoke.
How to Identify U-Joint Snap Ring Style During Measurement
When measuring a U-joint, you also need to identify the snap ring (retaining clip) configuration, as this determines which replacement part will physically install correctly. There are three main styles:
- External snap ring (C-clip): The groove is on the outside of the yoke bore; the clip is visible and accessible from the outside. Most common on domestic trucks.
- Internal snap ring: The groove is inside the cap itself; the cap has a groove near its open end. Common on many Japanese and European vehicles.
- Injected plastic retainer: No snap ring at all; the cap is retained by a plastic ring molded in place. Found in some OEM assemblies; replacement joints use conventional snap rings.
To check the style, look at the cap end face. If you see a groove on the cap itself before it enters the yoke, it uses an internal snap ring. If the groove is in the yoke bore rather than on the cap, it uses an external ring. Mixing snap ring styles is one of the most common and costly U-joint replacement mistakes — the cap will not seat fully and the joint will fail immediately under load.
Measuring U-Joints on ATVs, UTVs, and Non-Automotive Applications
The same two-dimension method applies to U-joints in ATVs, UTVs, marine sterndrive applications, agricultural equipment, and industrial drivelines. However, metric sizing is more common in these categories. A U-joint on a Polaris RZR or Can-Am may be measured in millimeters rather than inches.
Converting Between Metric and Imperial
If your caliper reads in millimeters, divide by 25.4 to convert to inches. For example, a 27 mm cap diameter equals 1.063 inches — which corresponds to the Spicer 1310 series. A 30 mm cap diameter equals approximately 1.181 inches, close to the 1350 series. Always verify the width as well before concluding a match.
Marine and Industrial U-Joints
Volvo Penta, MerCruiser, and OMC marine drives use proprietary U-joint sizes that don't always correspond to automotive series numbers. In these cases, measure precisely and cross-reference using the OEM part number stamped on the joint or listed in the service manual. Industrial U-joints (Dodge, Rexnord, Lovejoy series) use their own sizing charts based on torque capacity and bore size rather than cap dimensions alone.
Common Measurement Mistakes and How to Avoid Them
Even experienced mechanics make errors when measuring U-joints. Here are the most frequent mistakes and how to prevent each one:
- Measuring over grease or rust: Always clean the cap surface first. A 0.020-inch layer of grease can push your reading into the wrong series range.
- Measuring at an angle: The caliper must be perfectly perpendicular to the cap face for width, and perfectly square around the cap cylinder for diameter. Tilting by even 5 degrees introduces measurable error.
- Confusing diameter and width: Write down which measurement is which immediately. A diameter of 1.062" and a width of 3.219" are very different numbers — swapping them leads to an impossible-to-match spec.
- Measuring a worn or damaged cap: A worn U-joint may have grooved or egg-shaped caps. Measure on the undamaged portion of the cap face, or measure the new replacement to confirm the yoke bore size instead.
- Relying only on vehicle fitment databases: Year/make/model lookup charts have errors, especially for vehicles with multiple drivetrain configurations. Measurement is always more reliable than catalog lookup alone.
When Measurements Don't Match Any Standard Series
If your measurements fall between series sizes or don't match any chart entry, consider the following possibilities before ordering a custom joint:
- Re-measure on a different cap: Worn joints can show uneven cap dimensions. Measure all four caps and take the average if they differ.
- Check for a metric joint: Convert your reading to millimeters and compare against metric U-joint charts (common in European, Japanese, and Korean vehicles).
- Look for an OEM stamp: Some joints have a part number or series code laser-etched or stamped into the cross body. Clean the center cross and inspect under a light.
- Measure the yoke bore instead: If the joint is severely worn, measure the yoke bore diameter and depth directly, then find a joint that fits those bore dimensions.
- Contact a driveline specialty shop: For industrial, agricultural, or custom applications, a driveline fabricator can identify or manufacture a joint from your raw measurements.
In most cases, a reading that's off by 0.005–0.010 inches from a standard size is simply measurement error or cap wear — rounding to the nearest standard series and verifying fit before final installation is the practical approach used by professional driveline shops.